This post is Sponsored by Sweet Creations by Good Cook but my opinions are 100% my own!
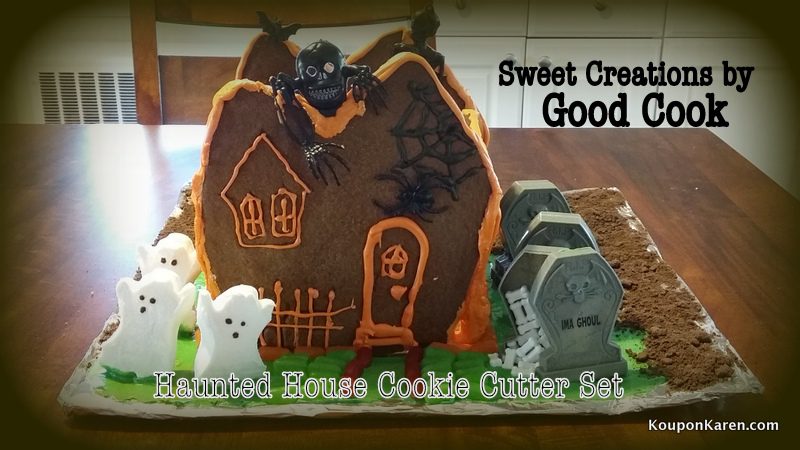
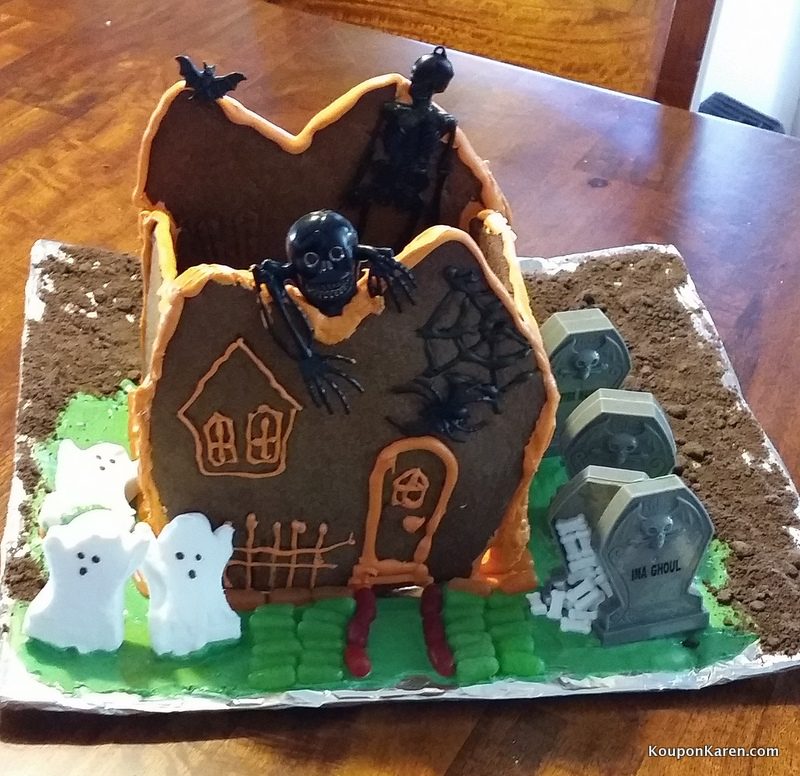
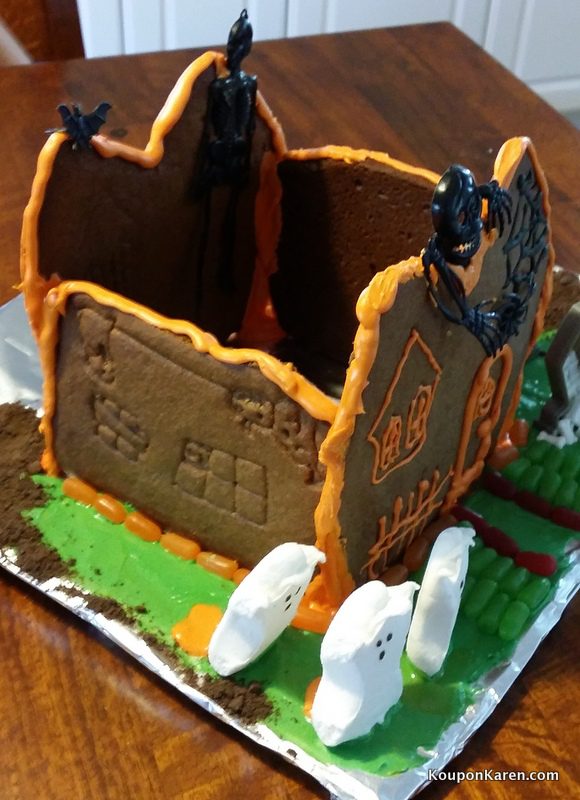
My kids aren’t sure who I am anymore. All of a sudden I bake things, and create things – fun things. They are a bit confused because mom hasn’t always been this handy and crafty in the kitchen, but they are loving it…. and so am I! As you know, I am a Good Cook Kitchen Expert (which my husband laughs at!) and they sent me the Haunted House Cookie Cutter Set to make the house you see above.
I have to be very honest with you. Before I agreed to make this house, I thought it came already baked and in pieces that then I had to assemble. You know like you can buy at the holidays to make a gingerbread house. I’ve always wanted to make one but just never did. I clearly didn’t read the complete details or I would have seen that it was a cookie cutter set. So I was pretty surprised when I opened the box and saw molds/ or cutters and not a building to construct.
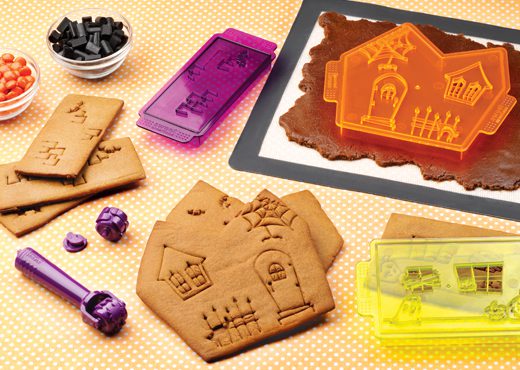
This is what the set looks like..
You get the 3 plastic cookie cutters – the orange is the front and back of the house, the yellow is the side of the house and the purple is the roof. You also get that purple roller and extra’s to make other designs on your house. The image shows 3 pieces for the roof but you really need 4. Just wanted to make sure you were aware of that.
It also includes a recipe to make the cookie but instead I picked up a molasses cookie mix since I didn’t have a lot of the ingredients that were in the recipe. It all works out the same. You really could use any cookie recipe you want. Lots of my fellow Good Cook Kitchen Experts made their houses before me so I heard about some of the problems they had so I made a game plan and went with that.
Here is what I did…
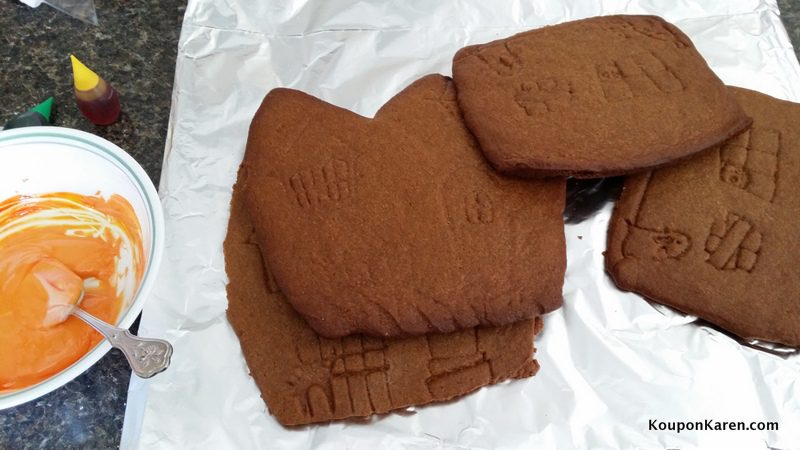
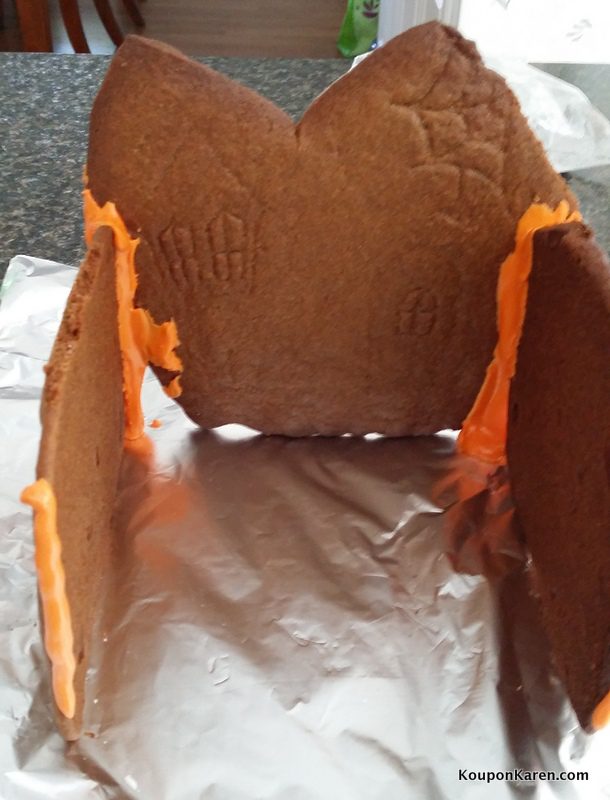
1. I baked the cookies 2 days before I was going to construct the house so that they could get nice and hard so the cookie didn’t break during construction.
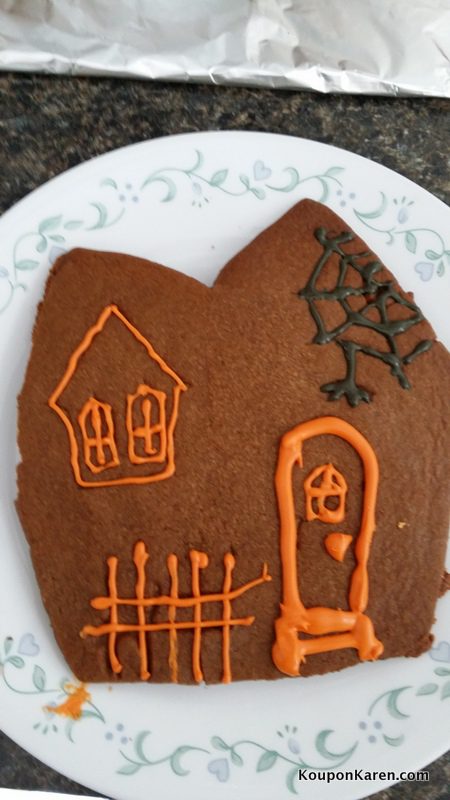
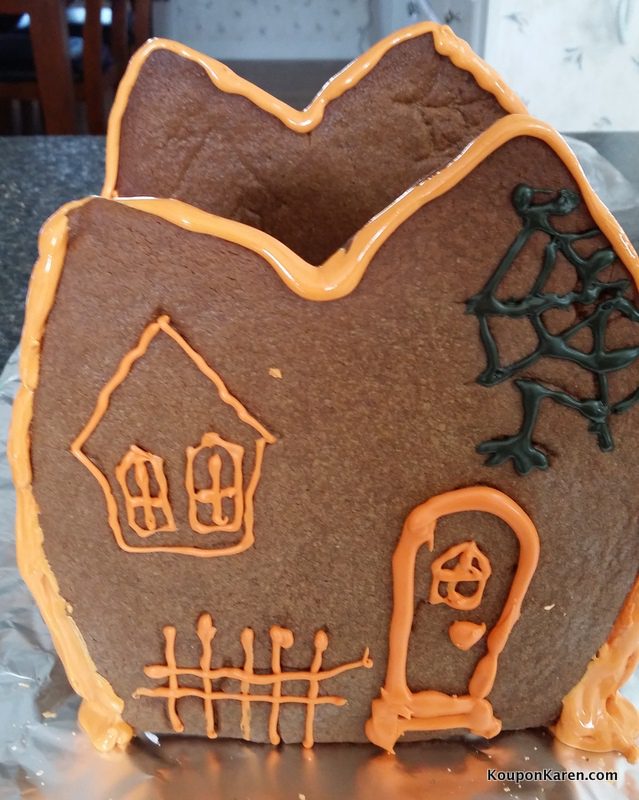
2. I did the detailed work on the front of the house before I attached it so I could do it flat.
3. I used royal icing to put the house together. I have heard of people just trying to use frosting but I didn’t want to take a chance that it would fall apart.
4. I decided before I baked my house that I wasn’t going to put a roof on it as that seemed to be a difficult task and I didn’t want to get frustrated. I don’t think every house needs a roof, especially if it’s not raining in my haunted village. This way we can add candy to the inside of the house making it a haunted candy dish!
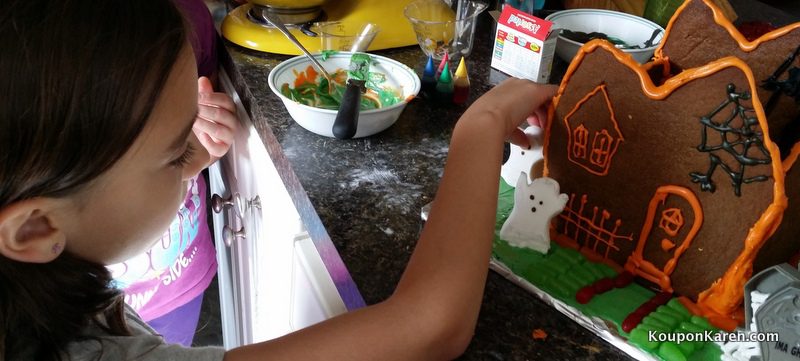
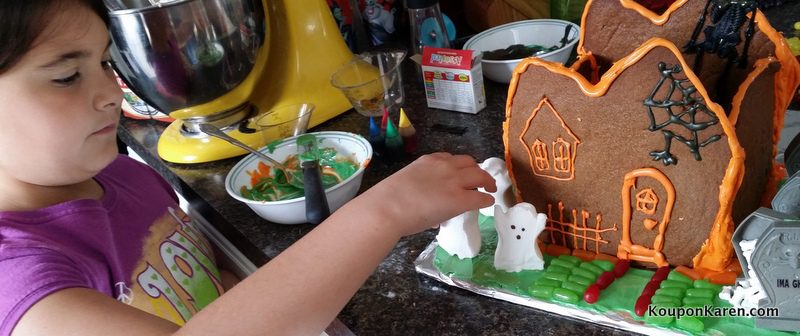
Once all of that was done, I let the kids help me decorate the rest. I put some green frosting for grass along the bottom so the candy and graves would stick to it and then added crumbled up cookies for dirt along the edges.
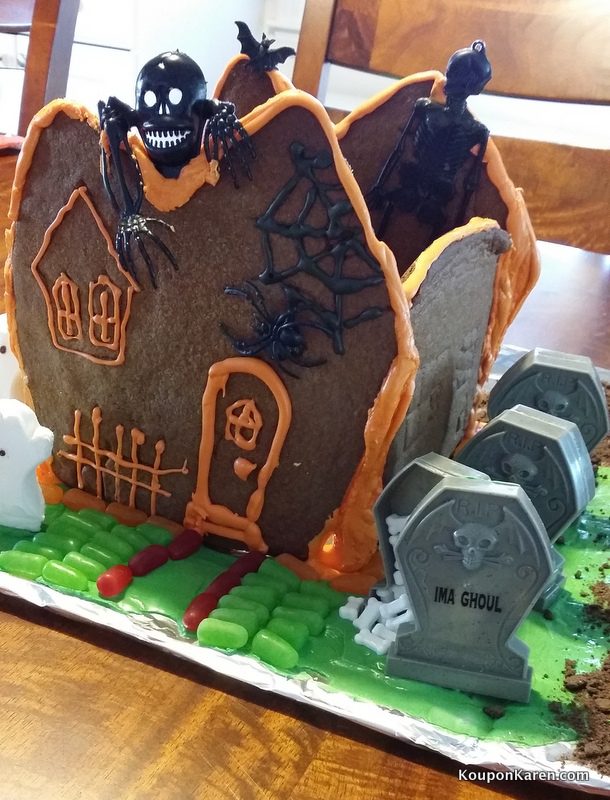
I added some fun plastic skeletons to make the house spookier and to make it look more like it’s not supposed to have a top and I did that on purpose….
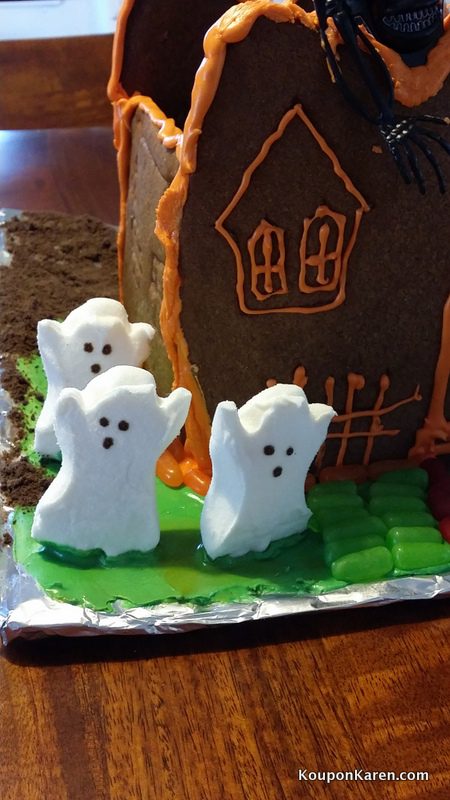
The ghosts Peeps were great but I had a hard time getting them to stay standing up as you can see in the picture above. The little graves are plastic but the bones inside were candy and perfect falling out of one. I seriously don’t know how I even came up with that idea because I’m not always that creative but it was my favorite part.
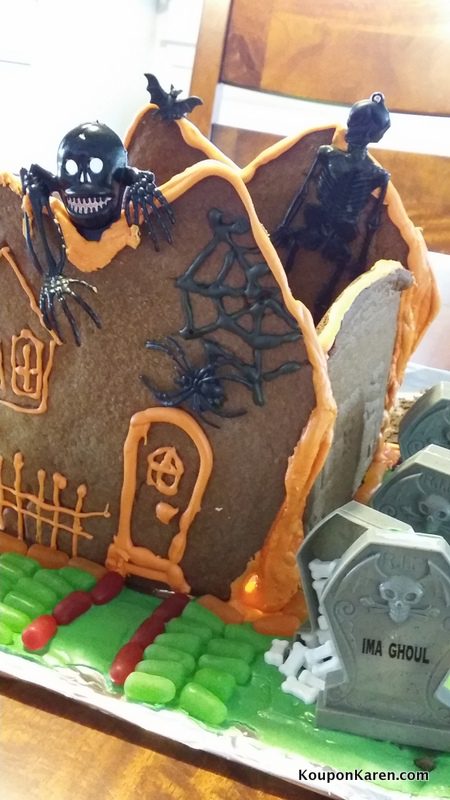
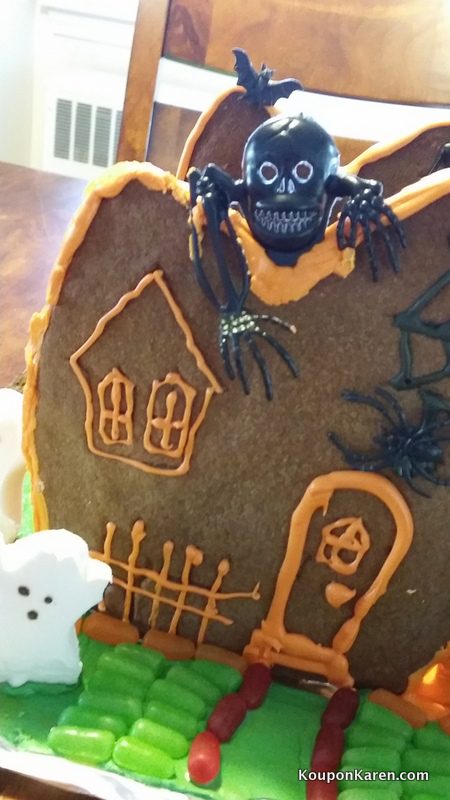
Here are a few more close up shots…
See the bones falling out of the gravestone? I’m really proud of myself for that! And the skeleton trying to climb out of the inside? And that web – I have a story for that. I had a very hard time getting the frosting to turn black. I used equal parts of blue, red and yellow like I read online (well sort of equal) but it seemed more purple/grey than black to me. I finally gave up and used what I had because this didn’t have to be perfect. And now look at it, it looks perfectly black! lol
The girls loved using the Mike & Ike Halloween candy to make the walk way and grass…. And of course ate all the colors we didn’t need.
Here are the scary ghost Peeps on a rare moment they were all standing. The girls insisted that they should just eat them since they wouldn’t stand up! I’m trying to hold them off for as long as I can and keep offering them more Mike & Ike’s!
See how nicely the inside is for holding candy? I would have put some in there to show you but I don’t have any yet. Holding off until closer to Halloween so my family doesn’t eat it.
Now that I’ve done it I’m glad that the kit included cookie cutters and not an already baked house because now I have them to make more haunted houses either this year or in years to come. And the fact that mine doesn’t have a roof just shows you that there really isn’t a wrong way to make a haunted gingerbread house, it’s completely up to you and the sky is the limit on this one. I did think about making a Zebra print one but decided not for this.
Did I mention I have never made any kind of gingerbread house? Nope, not even from a pre-made kit. So I’m happy to have the first one done and I’m proud of my creation. I’m also excited to make more. Perhaps we’ll be doing one again in a couple of months for the Christmas Holiday.
If this looks like something you’d like to make this Halloween, head on over to Goodcook.com to get the cookie cutter set.
Disclosure: I received a Free product for review. My opinions are 100% mine.


That came out really good. I love how you put the skeletons inside.
That is so cute!!! Love it! I want to make one with my kids!
This is really cute! I love the ghosts!
Thank you. this turned out really neat. my kids would love doing a project like this.